


Delivery Confirmation Queue
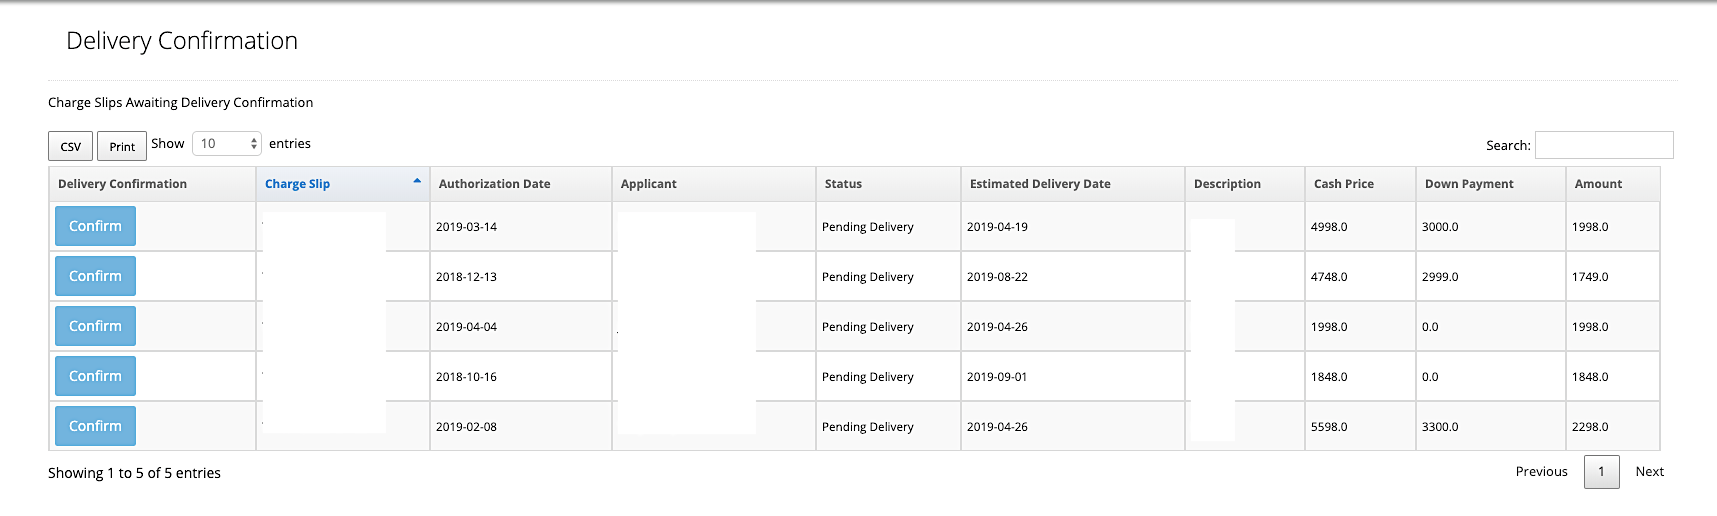
The Delivery Confirmation Queue was created for merchants who offer a delivered good or service where the delivery of the product is estimated. This queue contains all contracts that are pending entry of a delivery date (i.e. date of a procedure or date a purchased good has shipped or arrived). Once the delivery date is confirmed, the contract will be actived.
❗Contracts will remain in this queue until a date is entered.
Steps to Confirm Delivery
1, Go to uPortal360
2. Under Dashboard, click on My Queues, then Delivery Confirmation
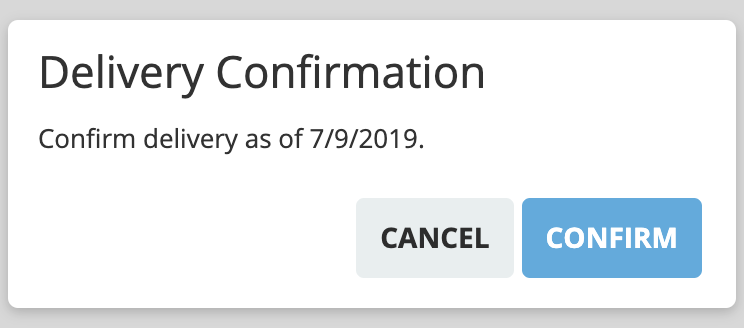
3. Locate the contract, and click on Confirm Delivery
4. Enter any confirmation details, if needed.
5. If dates of delivery date needs to be updated, click on Edit Delivery Date
This will confirm delivery of the customer's service and the contract status will change to active.
Types of Delivery Confirmation Offered
Within uPortal360, we offer three variations through our Delivery Confirmation Queue.
Future Delivery Date
This option allows the user to quickly select Confirm to confirm delivery on this account. Once this is clicked, the applicant's account has been confirmed, and the account is active.
Future Delivery with Membership Number
If confirmation is pending delivery of a tangible good or service, this option is used to input the tracking number to confirm delivery of the item.

Shipment Tracking Number
Using a membership or patient number allows you to verify the consumer and confirm the delivery in one step. This option will auto-populate the date once the membership or patient number has been entered and you click Confirm
![]()
Void a Charge Slip That Is Pending Delivery
If a charge slip is still in Pending Delivery status, you have the option to void the charge slip prior to the account becoming active. Follow the steps below to learn how to void a charge slip in this status.
-
Go to Delivery Confirmation Queue
-
Click the Charge Slip hyperlink associated with the contact you would like to void

-
You will be redirected to the consumer's account. Click on Charges in the menu on left of the screen
-
Next to the charge you wish to void, click Void. A pop-up will appear that this charge has been voided.
Once the charge has been voided, you will be able to enter a new charge with the correct information.
*The consumer will need to re-sign for all new charges.